
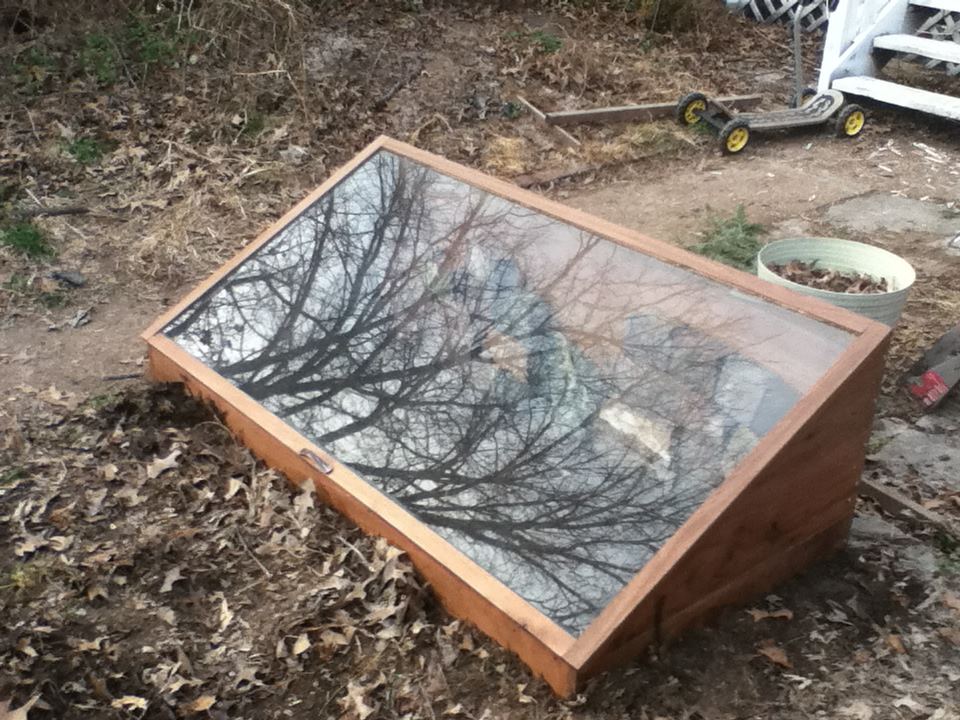
Today's post is a guest post by my husband, Jason, describing the cold frame that he made for our family this winter. Cold frames are a great way to grow your own food when the weather is generally too cold for gardening and can extend your growing season by a couple of months and sometimes longer. They are like a mini greenhouse. If possible it is a good idea to put a cold frame close to a large structure like your home to take advantage of the heat it gives off. Unfortunately that isn't possible in our yard but we have found other ways to save the heat from the day. One nice feature of our cold frame is that it is portable so we place it into our garden space in the winter and we will simply remove it and store it in the warm months.
Growing your own food is a good idea on GAPS since you can grow organically and avoid the toxins in conventional produce. It is a good idea on the LOD since you can choose lower oxalate varieties to grow.
~PattyLA
Some while back, I was cleaning out some old lumber under our back deck and ran across a nice big sheet of 1/4 inch thick glass. It is amazing what you can find stashed in the nooks of a 100 year old house. In the spirit of The Big Clean-Up (a favorite book of mine from my childhood and arguably a factor in my hoarding instinct), I decided to build a cold frame so that we could garden into early winter and start again in the very early spring (actually, I'm giving January a shot for a starting point this year). In this post, I'll give an overview of the project. If you have any thoughts of creating your own, you can get more details and my lessons learned at the long version of this post on my blog at The Quest for the Holy Cold Frame - Extended Edition
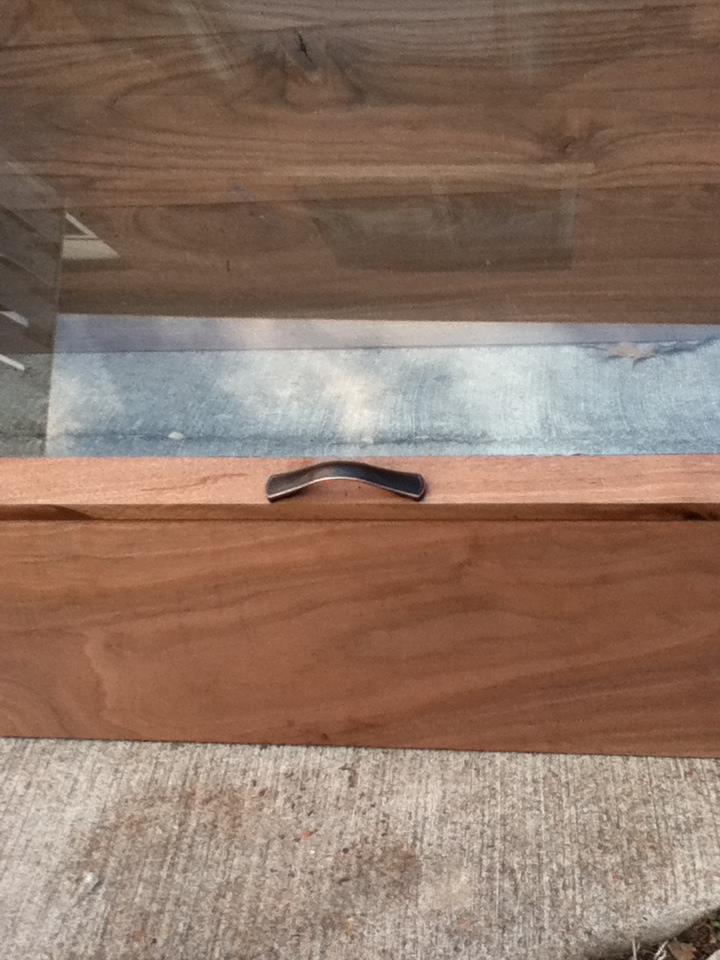
Since I like flashback, I'll start with the final result:
First off, I figured I should attempt a bit of research. I procured Building & Using Cold Frames: (the Kindle Edition will save you 79 cents off the budget busting $3.95 list price) and skimmed an article on Mother Earth News
You may wonder how I arrived at my design. I used the following design parameters:
- The frame should be designed to fit the sheet of glass I happened to have on hand.
- I skipped the suggested angle from the above e-book and decided to draw inspiration from articles that I've read on planning solar heating or electrical systems - namely, the angle of surface should be at least generally perpendicular to the sun for your growing seasons. I remember reading that a 30% slope is a good guideline for the U.S. 30% has the advantage of being twice as deep as tall so that kept the math simple. I then added an extra layer of boards along the bottom so that the plants in the very front wouldn't bump their heads as soon as they emerged. This also allows me to slightly inset the frame into the ground.
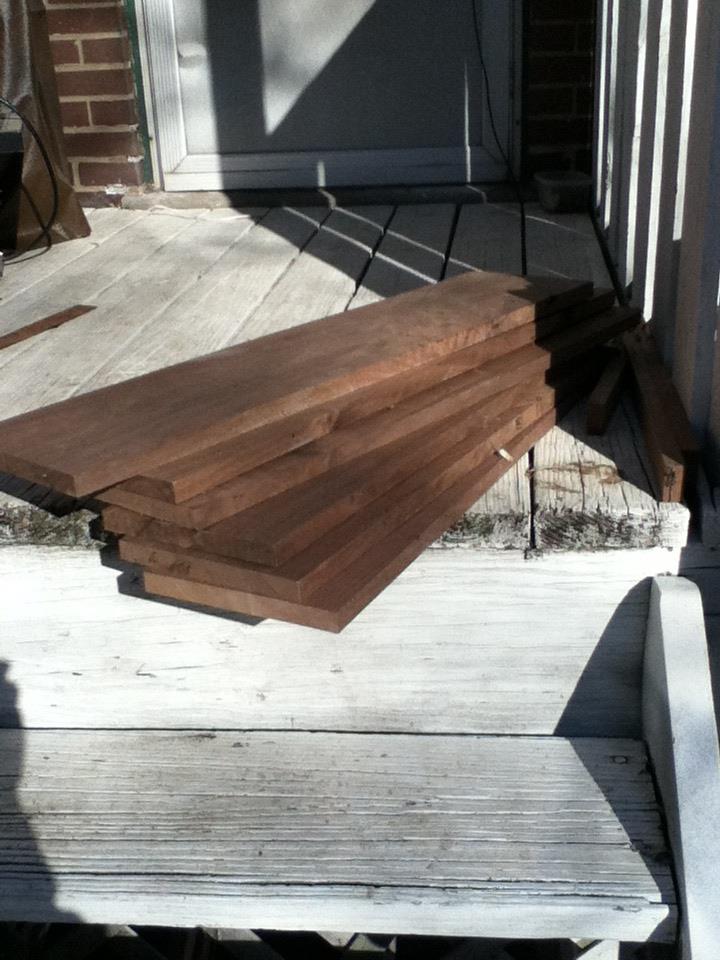
- I wanted to use standard dimensional lumber.
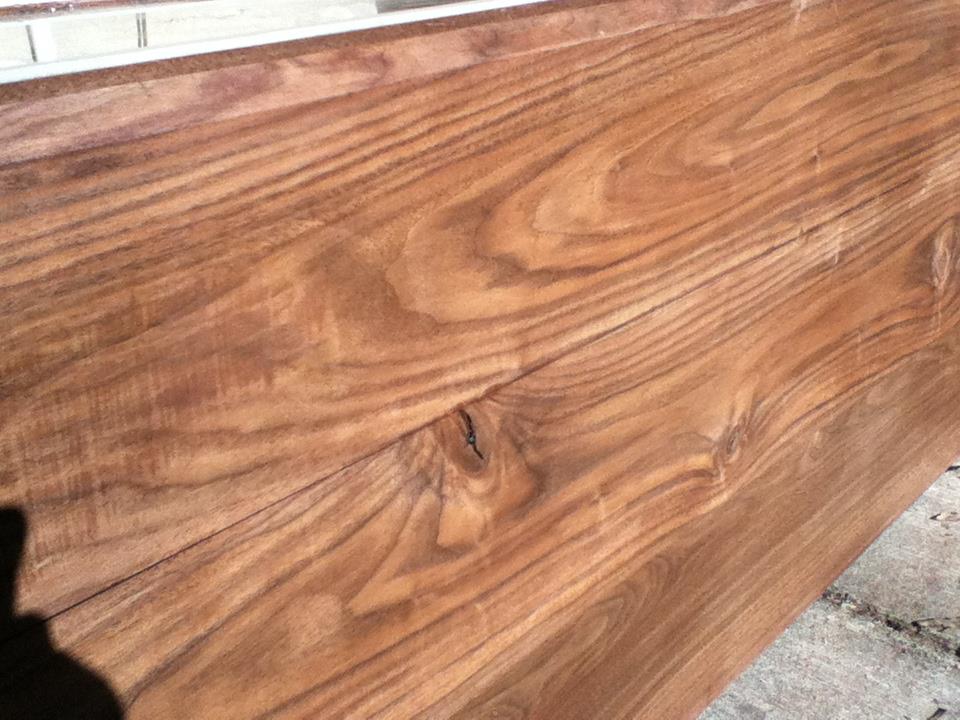
I also wanted to limit the potential from anything untoward leaching into the soil from wood preservatives, so I decided to try to find a source of wood that is naturally rot resistant and then treat it with the least toxic stain I could find. I did a bit of searching and found that MWANZI Woodshop would sell me local, sustainable wood. They didn't have cypress, which is the best option for rot resistance, but we eventually decided on walnut which should fit the bill and it's very pretty. I found the owner to be very nice to work with. Their main business is furniture, cabinets, flooring, etc. but he was open to selling me some lumber. He even cut it to order. So our local produce will be grown in a locally sourced cold frame made with local labor. How's that for cool? It's a shame I can't get local hardware.
For finish, I found BioShield Aqua Resin Stain in clear . Not only does this stain include an ingredient list, but it's pleasantly simple and non-toxic.
Here's some of the lumber that I started with:For finish, I found BioShield Aqua Resin Stain in clear
Next I put together the body of the cold frame. On the back panel, I caulked between each board to limit air leaks. Walnut is hard. When I sawed the two angled boards for each side the wood was smoking from the effort to cut through it and there was black residue on the saw and the ground when I was done.
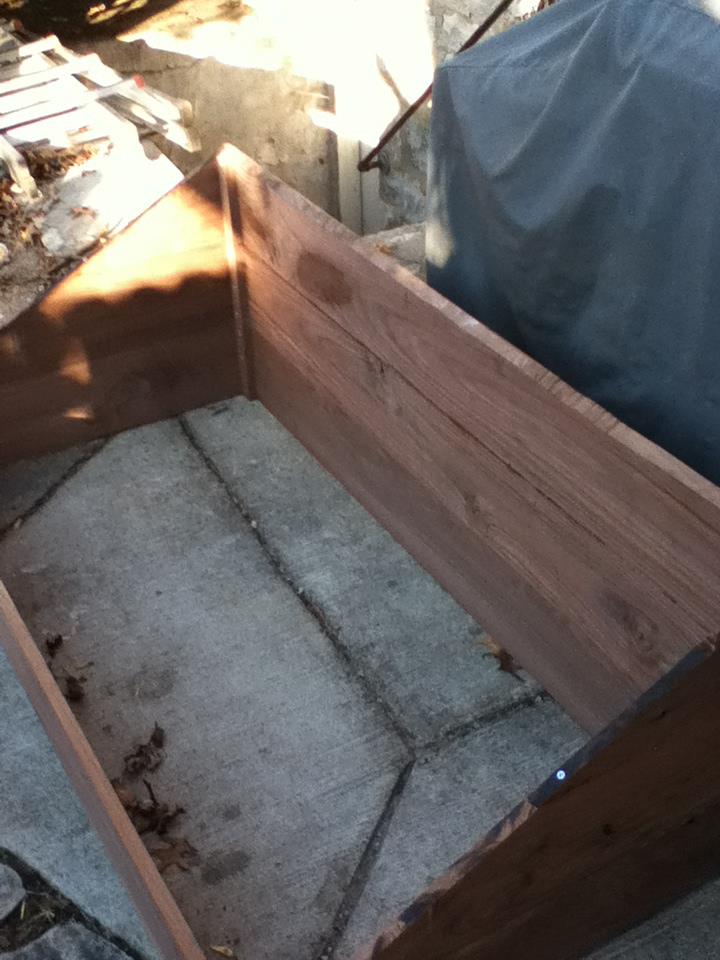
It turned out to be very strong. I was afraid that the corners would flex and that I'd have to handle it with kid gloves but they don't flex at all.
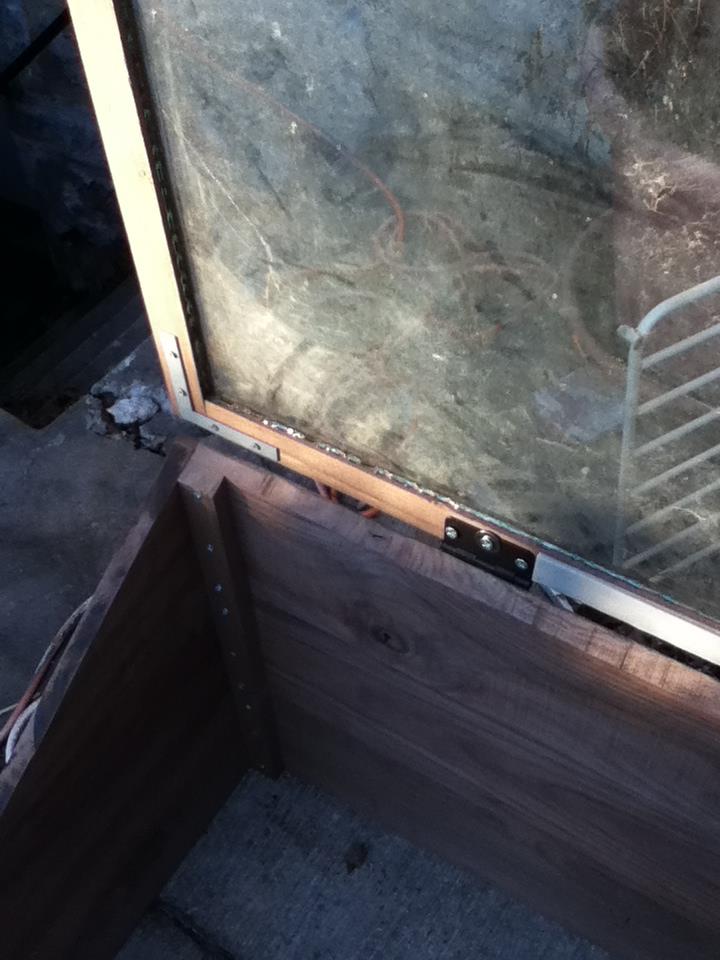
The lid is heavy. A handle helps a lot.
No better way to spend lunch hour than staining the cold frame. It requires three coats of stain.
Finally, we just needed to prepare a bed, first we removed the sod...
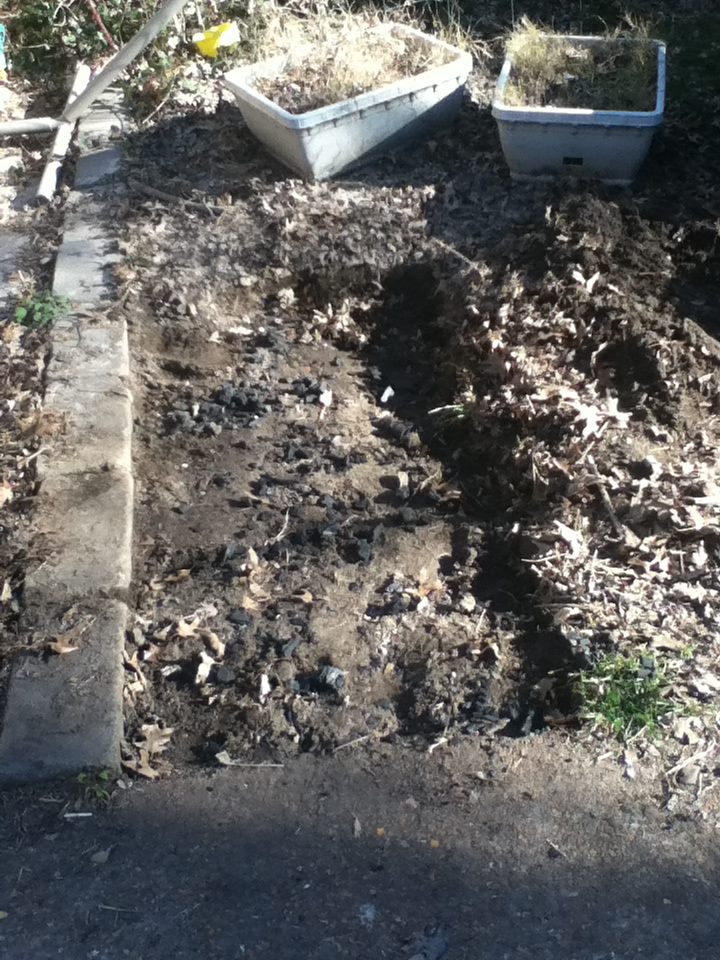
... and then mixed up some quality soil. We used peat moss, sifted soil from the location and finished compost from our compost bin.

We planted some radish seeds immediately since we had them on hand and placed an order with The Seed Saver's Exchange. I also purchased a Wireless Thermometer
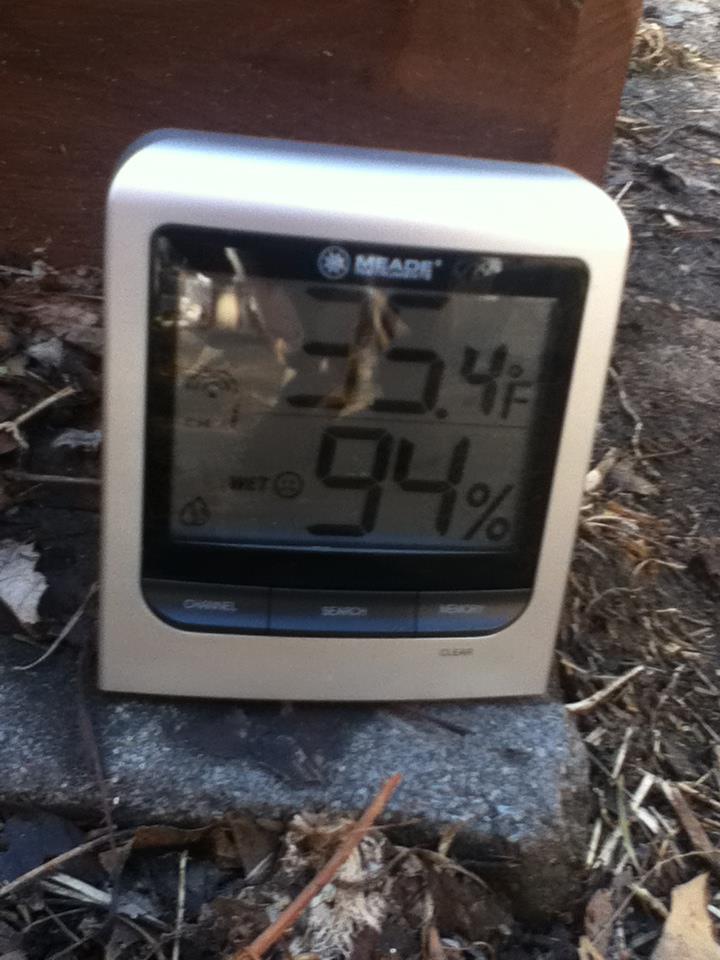
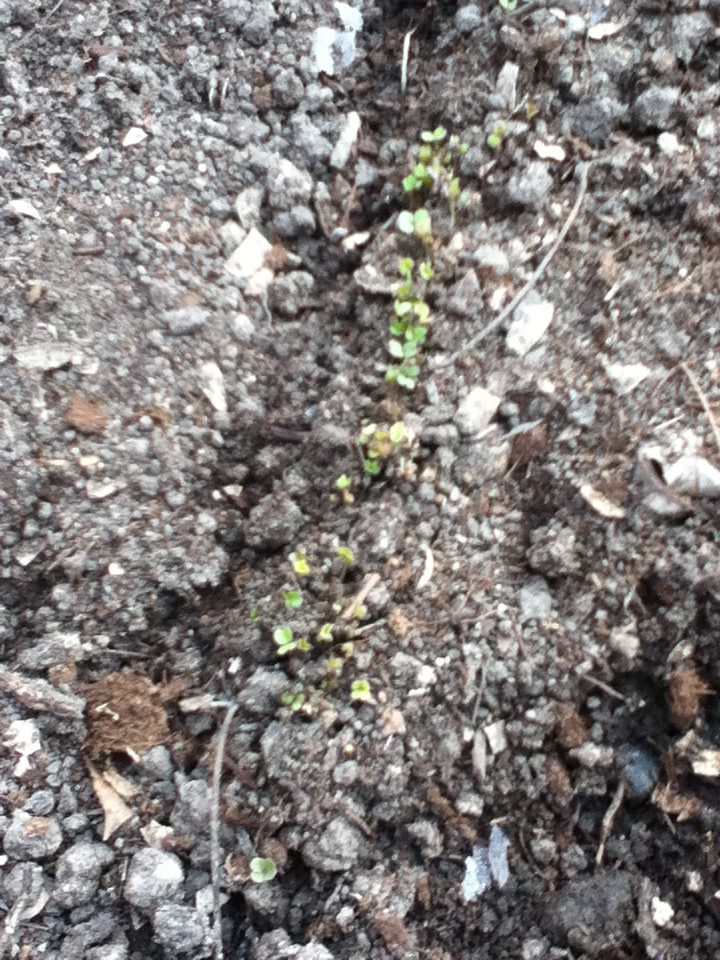
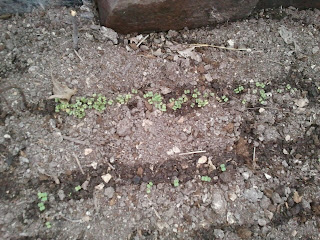
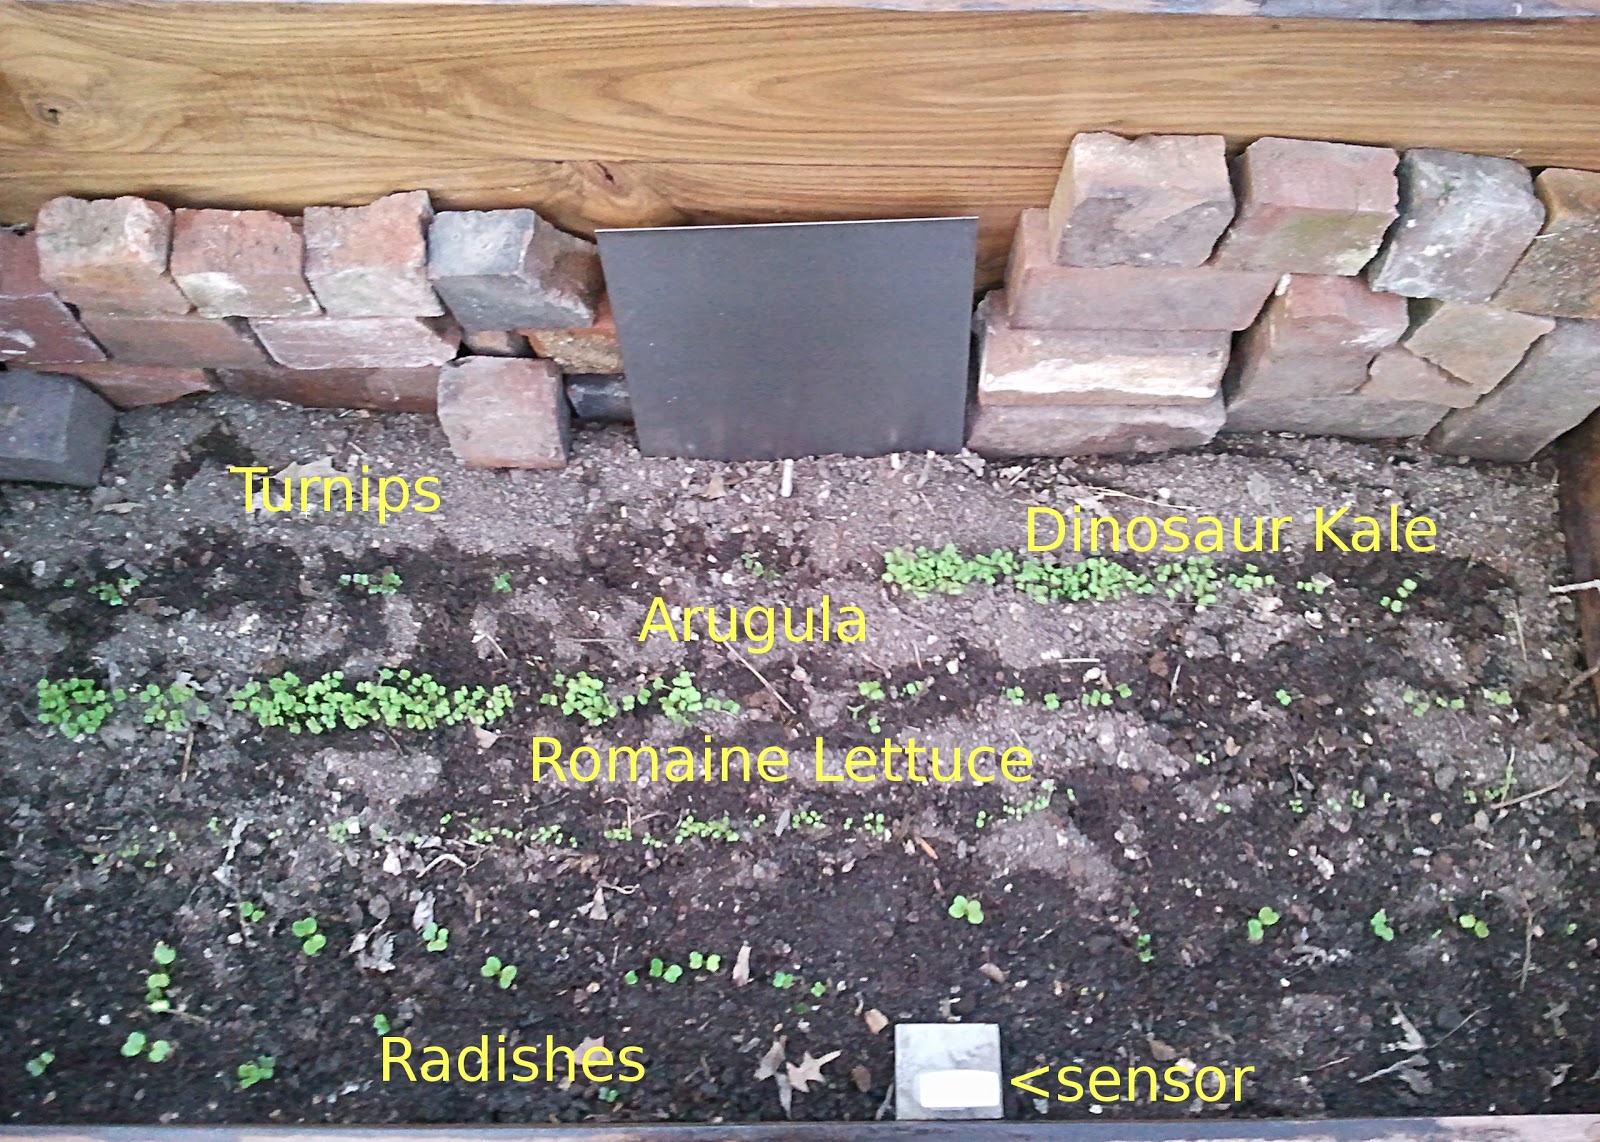
Besides radishes, we planted arugula, lettuce, turnips and dinosaur kale. So far, at least some of everything is up and a couple of rows look like we need to start thinking about thinning them. I think we're all having to go outside and check on them daily out of sheer enjoyment. Planting this early, there's still a chance that we'll lose everything, but seed is cheap and it's worth the gamble if it pays off. Everything we planted is cold weather tolerant. I've placed old bricks in the back of the cold frame to absorb heat during the day to be released overnight.
.jpg)
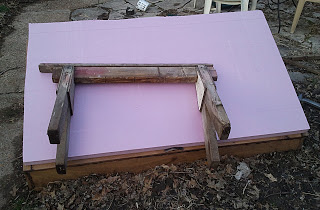
I got a piece of rigid insulation to protect against overnight heat loss. It will also protect against hail damage. The saw horse is an elegant way to keep it in place don't you think?
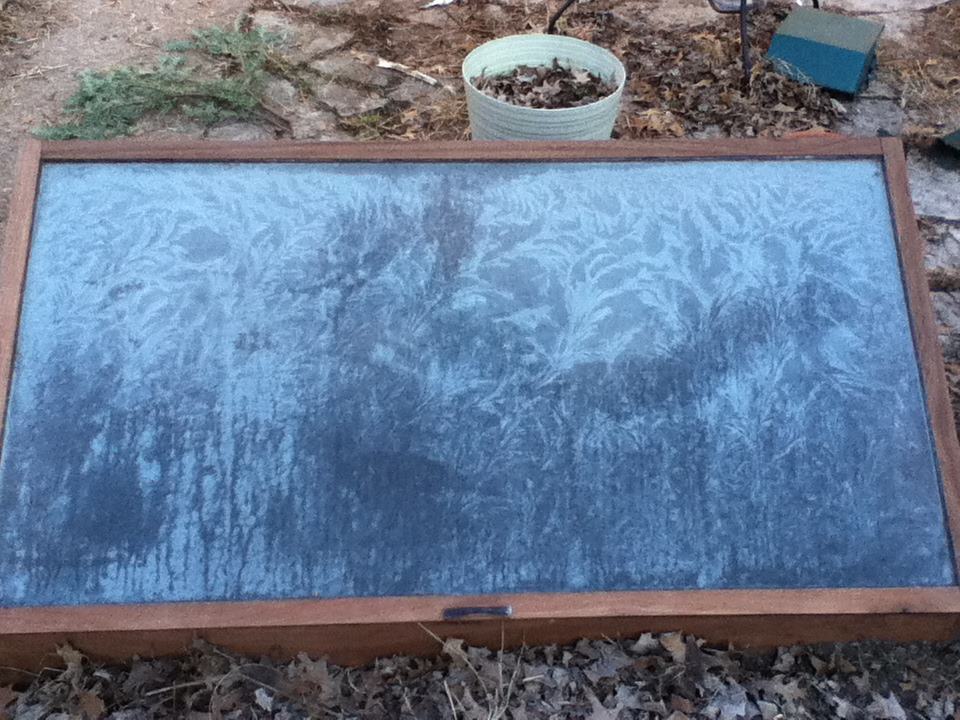
It does get quite beautiful when it frosts:
And here's what it's all about. We can literally see them grow day by day, even noticing differences from morning to evening. Sorry about the pictures. The plants are so vibrantly green when we see them but in a photo they tend to blend into the background.
This is looking down in from overhead. You can see most of the interior. I have labeled everything that we planted.
One more look at it from an artistic angle. You an see the condensation on the inside of the glass (it was about 40 degrees outside when this was taken.)

What a wonderful project! Jason, I'm impressed! And now I want one... When talking to Art, I'm blaming the two of you!!! ;)
ReplyDeleteIt really is beautiful. You should come see it when you are in the neighborhood some time.
DeletePatty, I saw on your pintrest Utz Pork Rinds. Are they really gaps legal? I'm assuming not pastured pork. Just for traveling and things, when complete GAPS is harder? I just long for ready-made savory snacks. :)
ReplyDeleteThey are not pastured but they are just pork and salt and so are GAPS legal. We use them for travel and special occasions. They are a delightful treat.
Delete